View an asset in its own window
Look at one asset, model or file big and in a window of its own, beside your other work, without leaving the page you are on. The viewer is a separate window: the picture in 2D, the model in 3D, or both side by side.
Open it
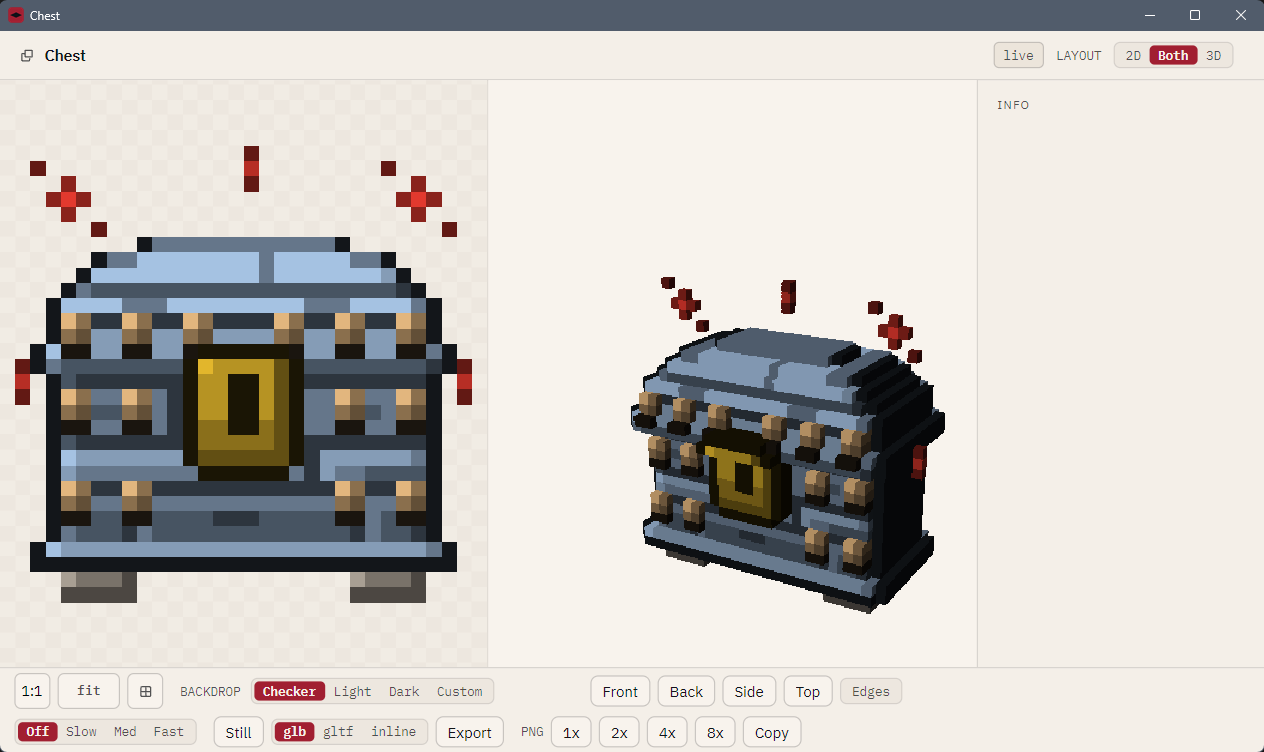
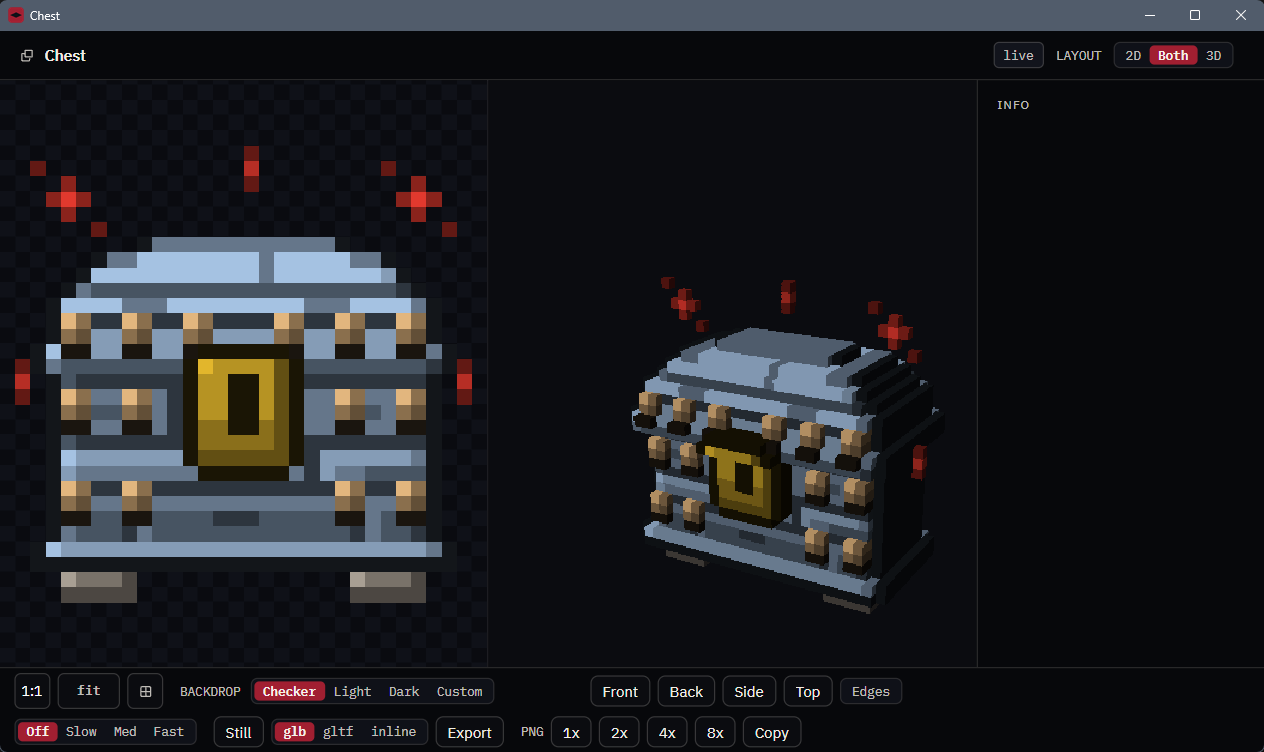
- From a pop-out button: the Rise page, the Ingredient Editor, the Set browser and the asset inspector each carry one (its tooltip names the shortcut). On the Rise page you can also Ctrl+click the 3D tile or the canvas, or middle-click either (on a Mac, middle-click only; a drag is still a stroke or a pan). The viewer opens on what the page shows and follows it live: paint, and the viewer redraws. The Ingredient Editor's viewer shows the picture only, with no model.
- From the tree or a recipe's layer table: right-click a row and choose Open in viewer, or Ctrl+click or middle-click it. A recipe shows a snapshot, one roll of that recipe.
- From the Set browser: open an asset, then open it in the viewer. A Set asset shows its model when the Set carries one or the CookBook that cooked it can be found.
- From a file: use Open in viewer on the Landing page. It takes a
.cbk,.rcp,.igt,.set(or a Set folder),.tin,.mnu,.ktn, a.pngor.jpg, a.glbor.gltfmodel, or an asset's metadata.json.
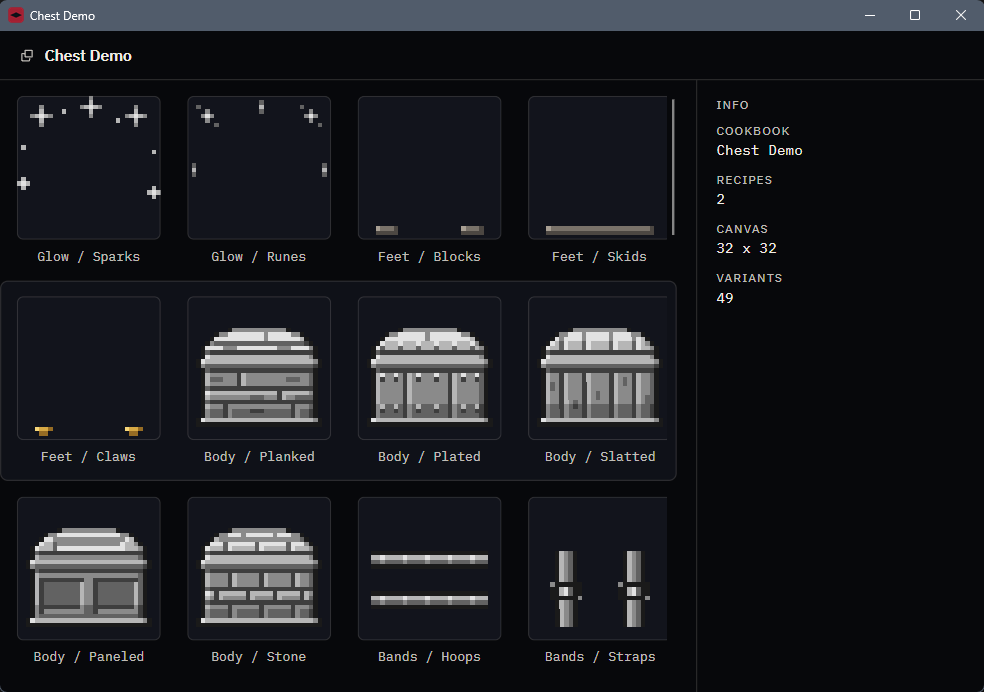
An archive opens as a gallery of tiles. Click a tile to open that one in its own viewer.
The controls
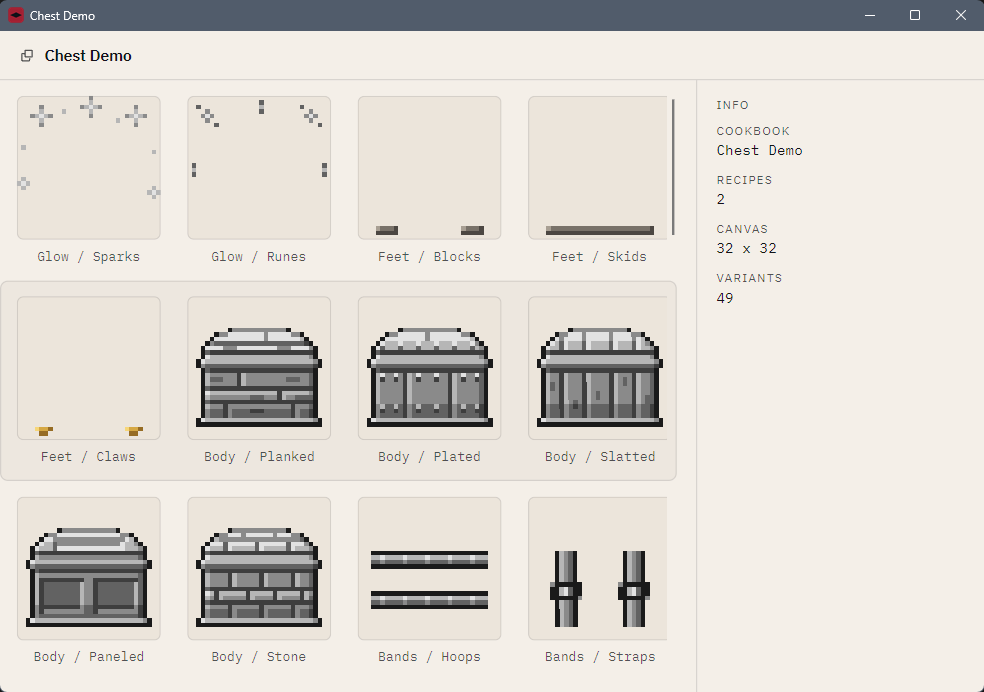
- Layout (top right): 2D, Both or 3D. Switching moves nothing else on the screen.
- 2D: wheel to zoom, drag (left or middle button) to pan, fit to reset, 1:1 for one art pixel per screen pixel, and
the grid button to draw the art's own pixel lines. Backdrop is Checker, Light, Dark or Custom
(type a
#RRGGBB). - 3D: drag to turn the model, right- or middle-drag to pan, wheel to zoom, double-click to reset the camera. With the 3D half focused, the arrow keys orbit, + / - zoom and Home resets. Front / Back / Side / Top set the camera, Edges draws the outline of every face over the solid, and Off / Slow / Med / Fast is the turntable. All of this is how you look; none of it reaches an exported model.
- Save: Still saves the 3D frame as a PNG with a clear background. PNG 1x to 8x saves the
art at that scale, Copy puts it on the clipboard. Export writes the model as
glb,gltforinline(one.gltfwith the data embedded).
Ctrl+W closes the viewer window; Esc closes a dialog open in it. Every key is on the shortcuts page.
Live or snapshot
The badge beside the title says which. live means the viewer is following the Rise page that opened it (or the Ingredient Editor). When that page closes, or the subject was never live, the badge reads snapshot: the viewer keeps its own copy, so you can close or save the book under it and it still shows what you opened.
Sealed files
A .tin asks for its passphrase, then shows its assets view-only: Save, Copy and Export are off and
the info rail says why. A sealed Set is a lock on a door, not a wall; see
Sealing.
What is not there yet
No file association (double-clicking a file does not open the viewer), no single window that new files
hand off to, no drag-and-drop onto the window, and no nfty view command. The viewer reads nfty's own
glTF models, not any model from anywhere. Wireframe is the quad outline, not each voxel's edge. These
are written down, with reasons, in the project's backlog.