Make a 3D model
Turn finished pixel art into a model you can use in an engine or a viewer. You do this on the Rise page: you paint how thick each pixel is, watch the model change beside the art, and export it. For what "thick" means and why a model is made this way, see Depth: paper, front and back.
The demo CookBook already carries depth, so open it to try this on real relief.
Everything below also works with no depth painted at all. A picture you never touch exports as flat paper: every opaque pixel is one voxel thick.
Open the Rise page on what you want to rise
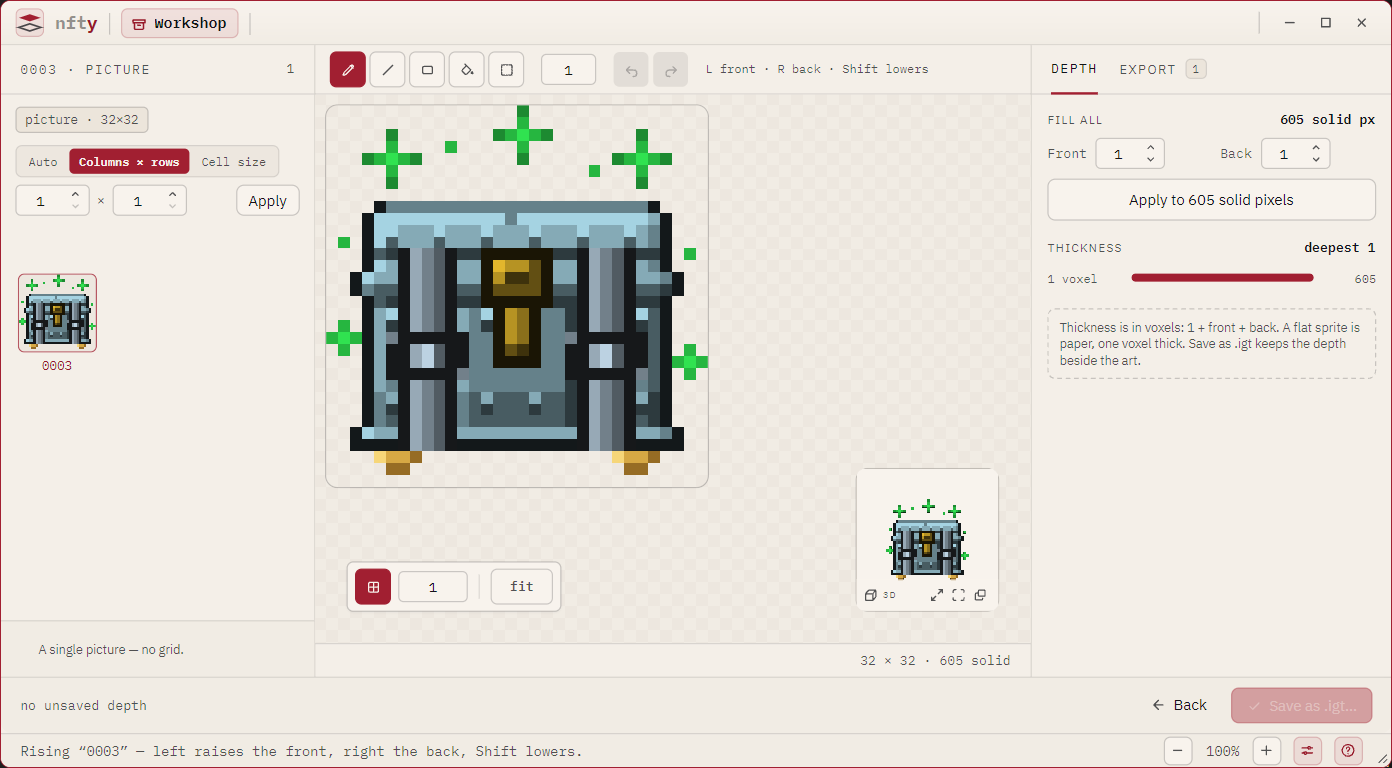
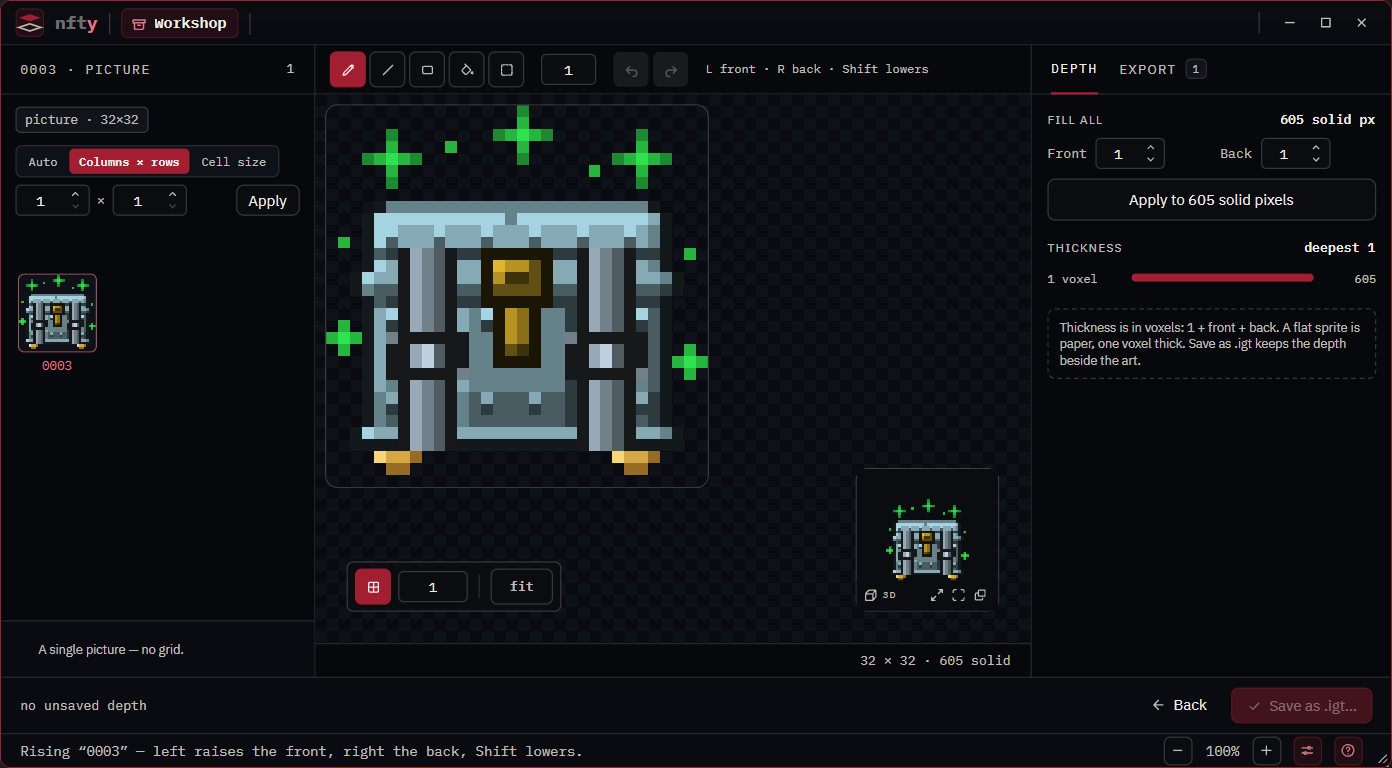
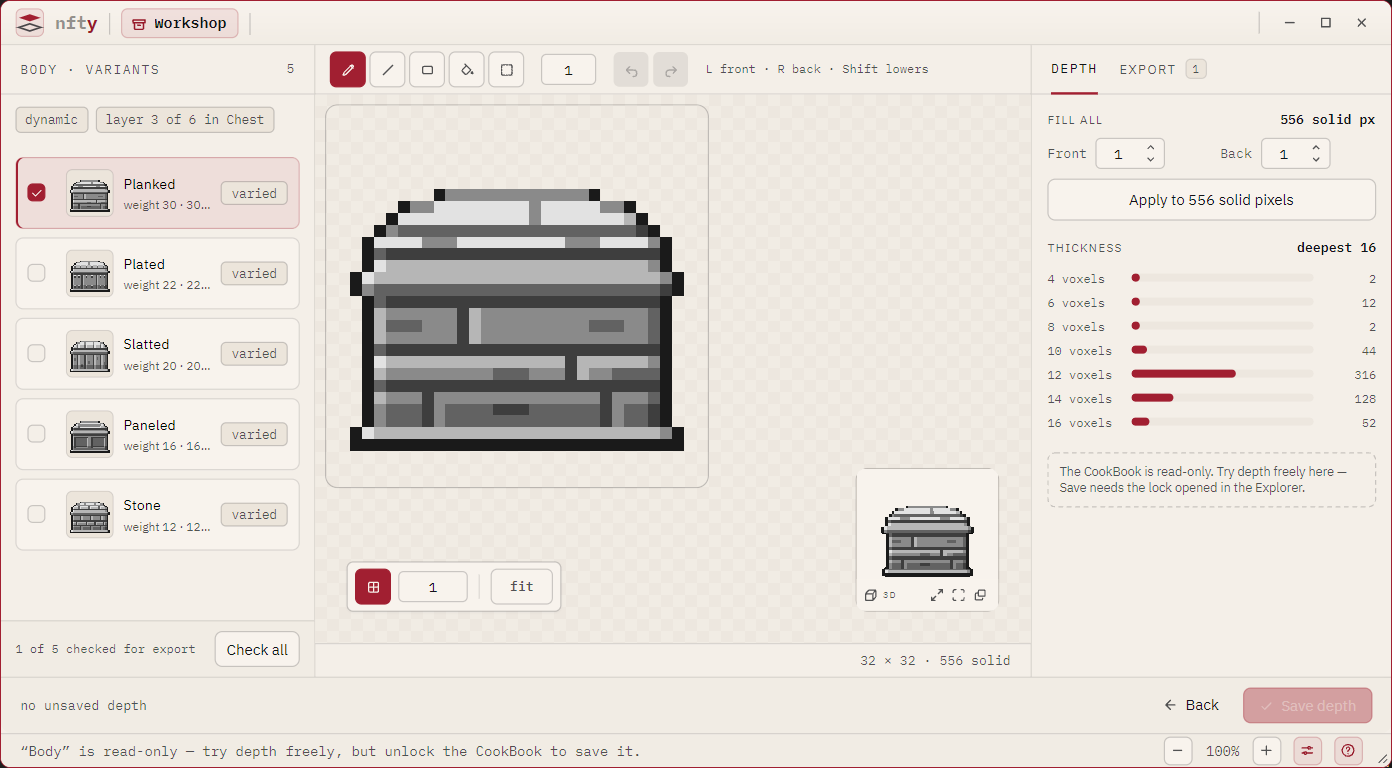
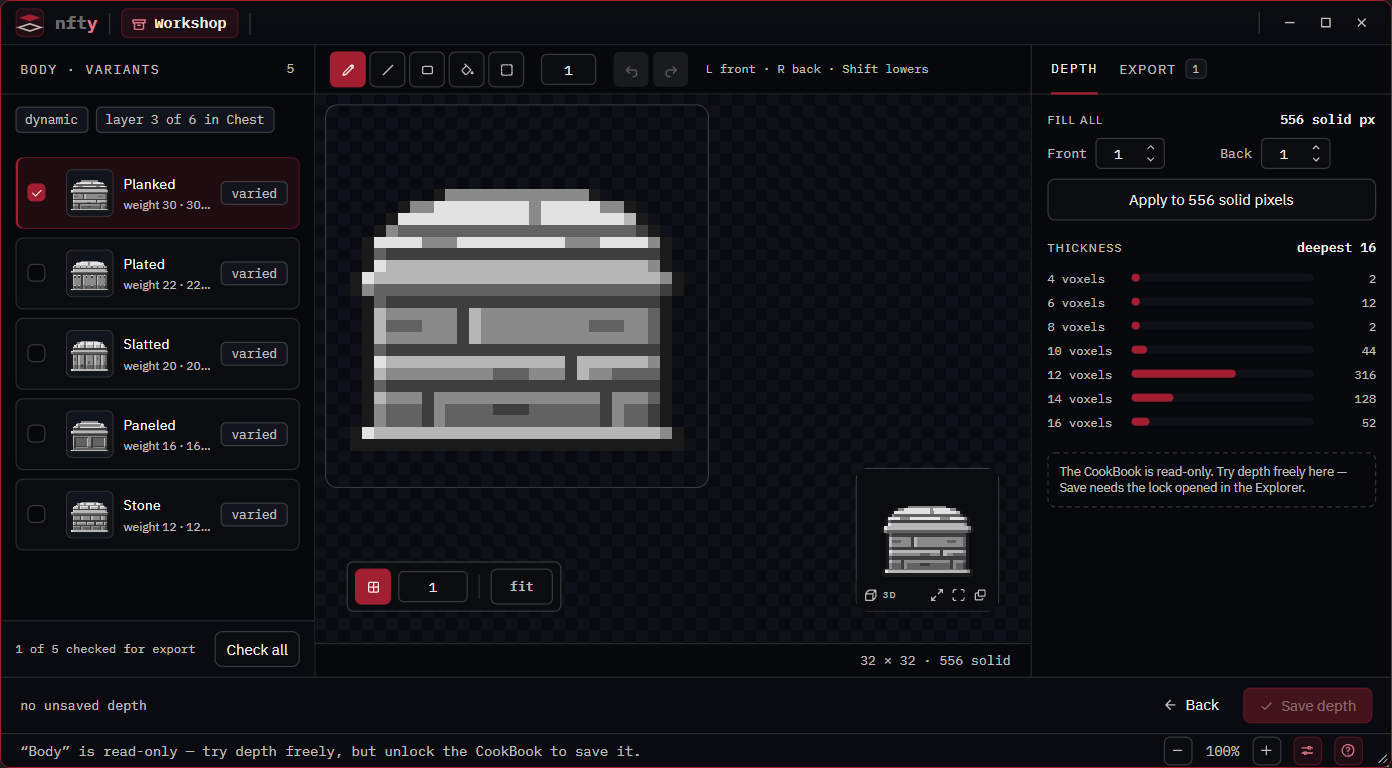
Pick the entry point that matches what you are holding.
| You want to rise | Go to |
|---|---|
| One layer (all its variants) | Select the Ingredient in the Explorer and press Rise. Or, inside the Ingredient Editor, press Rise in the footer. |
| One rolled character from a Recipe | Select the Recipe and press Rise under its portrait. Press the die first for a different roll. |
| One cooked asset | Open the Set, point at or select an asset, and press Rise in the page header. |
| A picture that is in no project | On the opening screen, press Rise a picture... and choose a .png. |
| A spritesheet | The same button. See Rise a spritesheet. |
A Recipe's Rise shows one roll, not a stored asset: the rail lists that roll's layers, and the canvas shows their combined depth. You can paint it, and the depth lands on the layer that owns each pixel; see Shape one layer on the whole character. A Set's Rise reads each asset's depth from the CookBook that cooked it, found by hash; if that book is not found, every asset shows as paper and the page says so.
A Dynamic or Static variant rises as its stored gray value-map, exactly as a loose picture of those pixels would. There is no colorize option on the Rise page. A Custom variant rises in its own colors.
Paint depth
The toolstrip has a brush, a line, a rectangle, a same-color fill and a region select. A stroke changes the depth of every solid pixel it passes over by one step:
| You do | Depth change |
|---|---|
| Left mouse button | Front +1 |
| Right mouse button | Back +1 |
| Hold Shift | Subtract 1 instead (never below 0) |
| Hold Ctrl | Constrain: a straight stroke, 45 degrees for a line, a square for a rectangle |
Shift never constrains on this page, because it is the lowering key. Tools have letter keys (B, L, R, G, M); see Keyboard shortcuts. Clear pixels stay untouched: depth only exists where there is something to rise.
To give every solid pixel the same thickness at once, use FILL ALL on the DEPTH tab: set Front and Back, then press Apply to N solid pixels. It replaces whatever depth was there, as one undo step.
The thickness table under it counts how many pixels are 1, 2, 3 ... voxels thick, which is the quickest way to check that a stroke did what you meant.
Save the depth
For a layer, the footer button is Save depth. It writes the depth into the layer's own archive
(and the CookBook around it), one depth/{variantId}.dep per variant; see
File formats.
A locked CookBook still lets you paint, as a scratch surface, but saving needs the lock opened in the
Explorer. A Recipe's roll saves every variant you changed in one go. A cooked Set is read-only: there
is nothing to save. A loose picture
saves as an .igt (Save as .igt...); until you do, its depth lasts for the session only.
Export a model
Open the EXPORT tab.
- Choose a format: GLB (one file, the default), glTF plus a
.bin, or glTF embedded. - Choose a pivot: bottom center (the default), center or min corner.
- Set the voxel size, the world units one pixel becomes.
- Press Export model...
The heading names the file and says what is in it; for a single model it shows the exact size.
Export more than one
For a layer's variants, a Set, or a sheet's cells, every row has a checkbox, and Check all and
Clear act on the whole list. The button reads Export N models... and writes either one .zip
or a folder, as the SHAPE choice says.
An item that cannot rise is left out, and the status bar names it afterward. Partial transparency is the usual reason: see Fix a 2D-only book. An item with nothing fully opaque has nothing to make a voxel from.
A sealed Set can be risen and looked at, but nothing leaves it: the Export button says why.
The same thing from the terminal
See Command line. To make a model of every asset in a collection at once, cook with models.