Draw your first layer
You have a collection of flat rectangles. This page adds a creature on top of them, and along the way teaches every tool in the editor.
You need the CookBook from Your first collection, open in the Explorer with editing unlocked.
1. Add a second layer
Select Cat in the tree and click Add ingredient. Name it Body, kind Dynamic.
Layers are painted bottom to top in the order you add them, so Body lands on top of Background — which is what you want.
You can see the stack, in paint order, on the Recipe's panel:
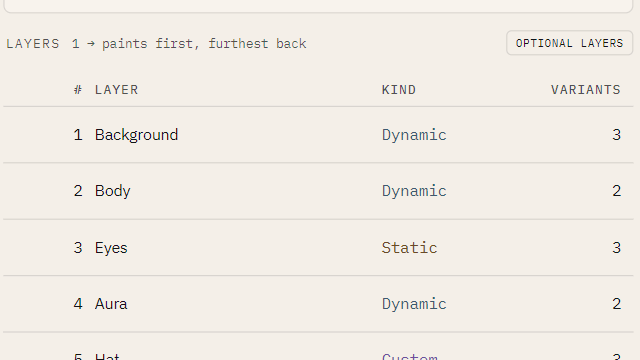
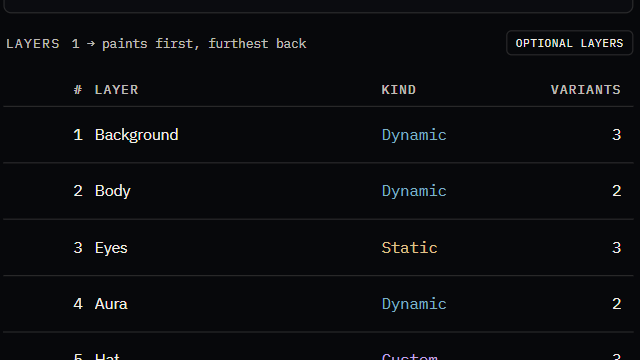
Select Body and click the pencil.
2. Turn on a reference layer
You are about to draw a creature that has to sit correctly on the background. Rather than guess, show the background underneath while you draw.
Scroll the right-hand panel down to IN THIS RECIPE and tick Background.
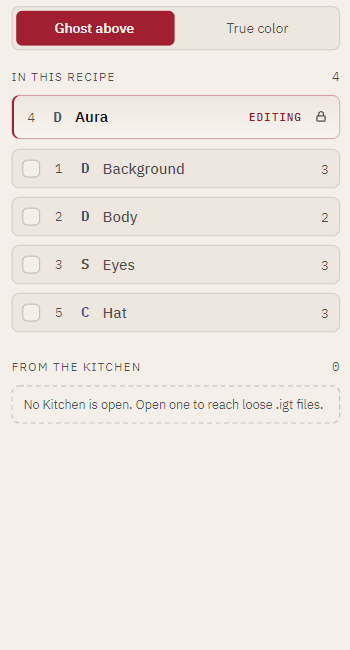
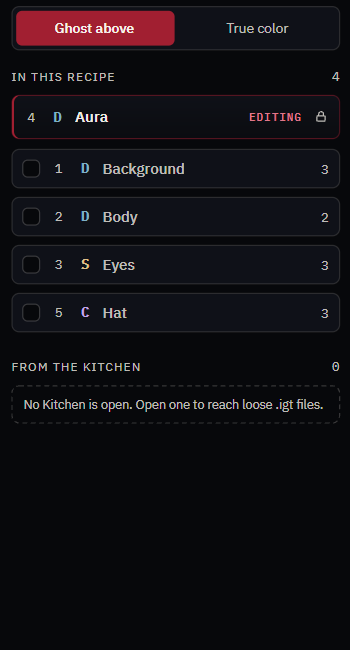
Your background now composites behind the canvas, tagged UNDER because it sits below this layer. Anything above would be tagged OVER and drawn dimmed, so it cannot hide your work.
3. Draw a body
The tools run along the top of the canvas:


Pencil, eraser, flood fill · rectangle, ellipse, triangle, line, select · undo, redo · the value slider, the current swatch, and the brush size.
Draw a simple creature:
- Pick the ellipse tool and a mid-gray. Press near the middle of the canvas, drag out a rounded body, and let go. The outline follows your cursor while you drag, so you can see the shape before you commit it.
- Pick the triangle tool. Drag two small ears on top of the body.
- Pick the pencil, set brush size to
1, choose a dark gray, and dot in two eyes.
If a shape lands wrong, press Ctrl+Z.
4. Shade it
This is the part that pays off later. Pick a lighter gray and draw a smaller ellipse inside the body, towards the top.
That lighter patch is not a highlight in a fixed color — it is a brighter value. When nfty colors this layer it keeps every pixel's brightness and injects a hue, so your shading survives into every color the layer ever rolls. See Why layers are drawn in gray.
5. Watch it in color
Look at the small preview in the bottom-right corner of the canvas. That is your layer rendered exactly as generation would render it, in a color sampled from this layer's range.
Its three little buttons re-roll that color, enlarge the preview, and let it take over the canvas. Click the first one a few times. Same drawing, different creature each time.
6. Add a second option
Click + Add Variant and draw a different pose — a sitting version, or one with bigger ears. It does not need to be good; it needs to be different, because variety in the output comes from having options to roll between.
Click Save, then Back.
7. Cook it again
Select Vapor Pets, click Cook Set, and give it the same seed as before.
You will get a different collection — not the same one with a creature added. That is expected and worth understanding now rather than being surprised by later: adding a layer changes how the random numbers are handed out, so every roll downstream of it changes too. See Why a seed reproduces a collection.
What you now know
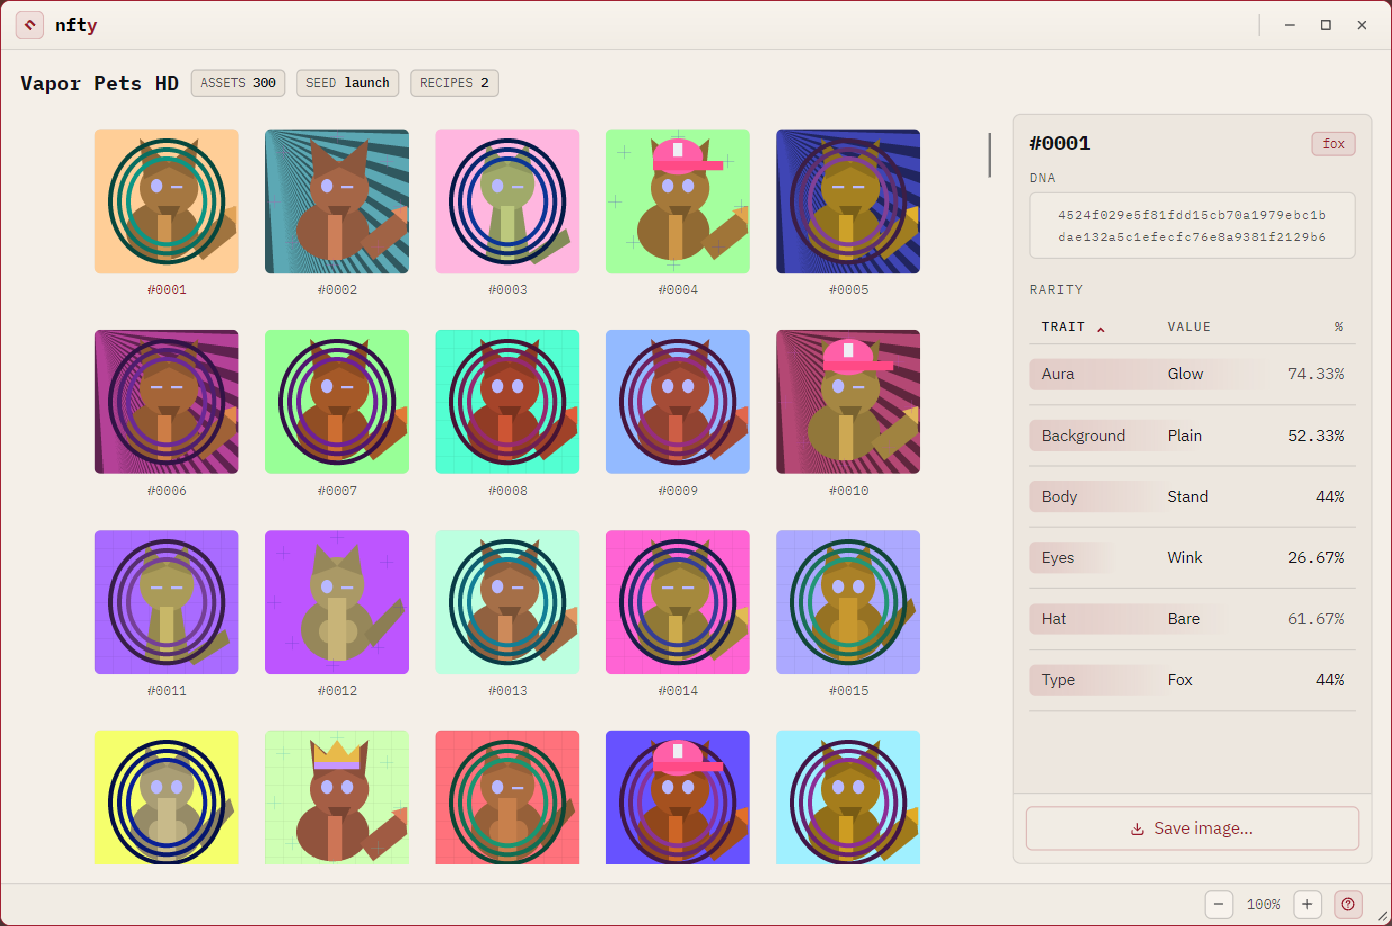
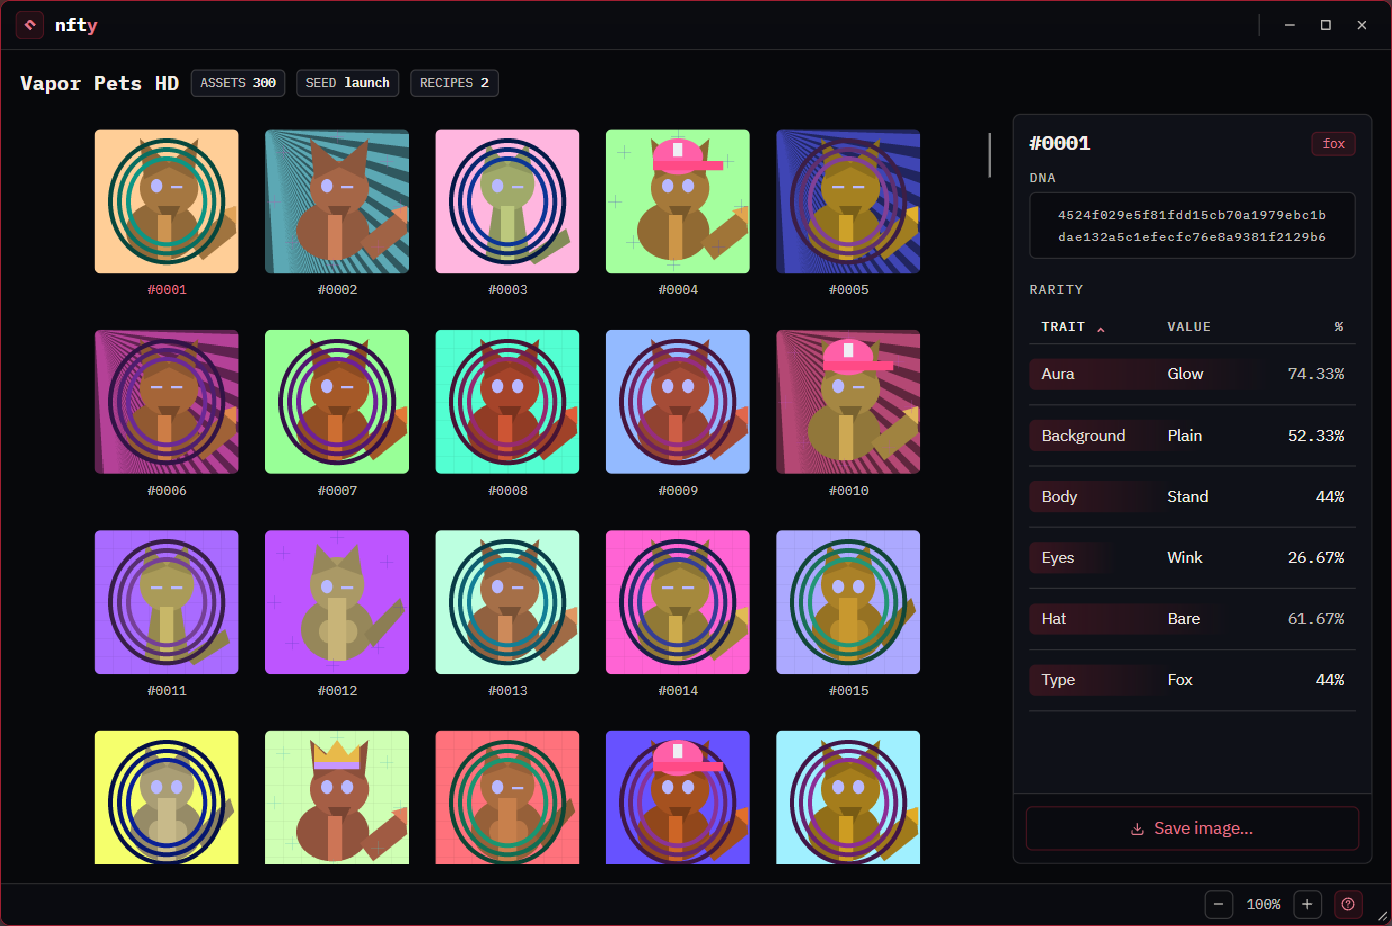
You have used every drawing tool, the value slider, reference layers and the live preview. The finished Vapor Pets in this manual's screenshots is five layers built exactly this way:
From here the manual stops leading. Pick a question in How do I…, or read How nfty works to understand what you have been doing.